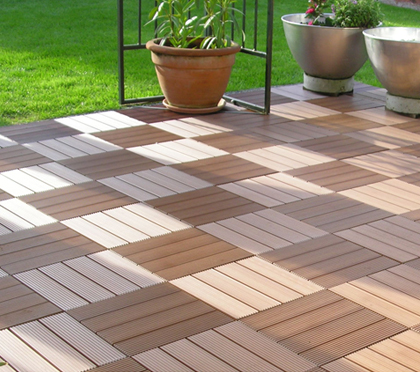
Installation
Shantex decking tiles are easy to install over a weekend and will increase the value of your home, condo, cabin or apartment. If you have additional installation questions please check our FAQ for more information.
STEP 1: Clean
Clean and level new decking area. Pressure washing is recommended for initial installation.
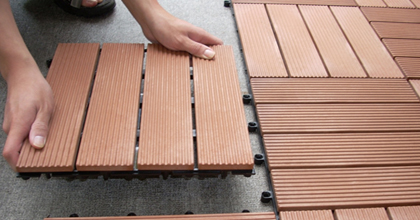
STEP 2: Snap
Align and snap together tiles. Each tile should make an audible "snap" when connected correctly.
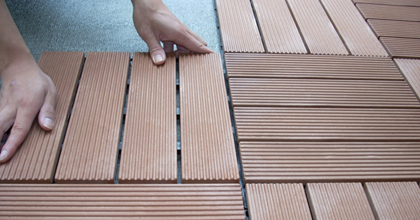
STEP 3: Finish
Cut around tricky parts using hand or power tools. Use Shantex reducers and end caps to finish off your deck.
STEP 1: Measure
Measure twice, cut once. Make sure you carefully line up your tiles.

STEP 2: Cut
Using hand or power tools, cut along your carefully measured edges including the snapping base.

STEP 4: Finish
Your newly cut tiles will fit perfectly into your pattern with minimal expansion or contraction.
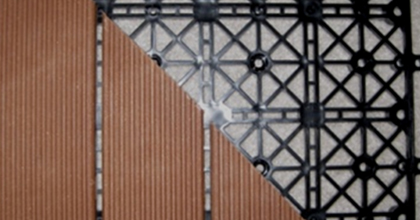
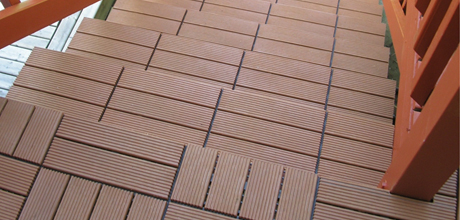
How To Secure The TilesTricky Or Uneven Surfaces Are No Problem
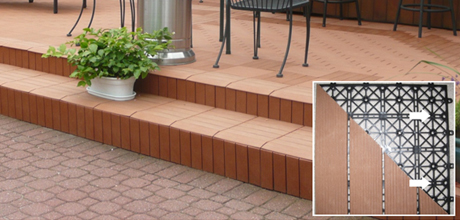
Edge Examples

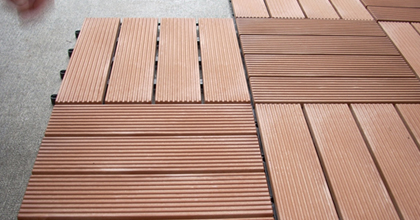
Before And After
